

This homemade pasta dough recipe for a KitchenAid mixer is made with flour, eggs, olive oil and salt. The mixer handles the kneading, and the pasta attachment rolls and cuts the dough into fresh noodles. Honestly, it is so much easier than doing everything by hand.
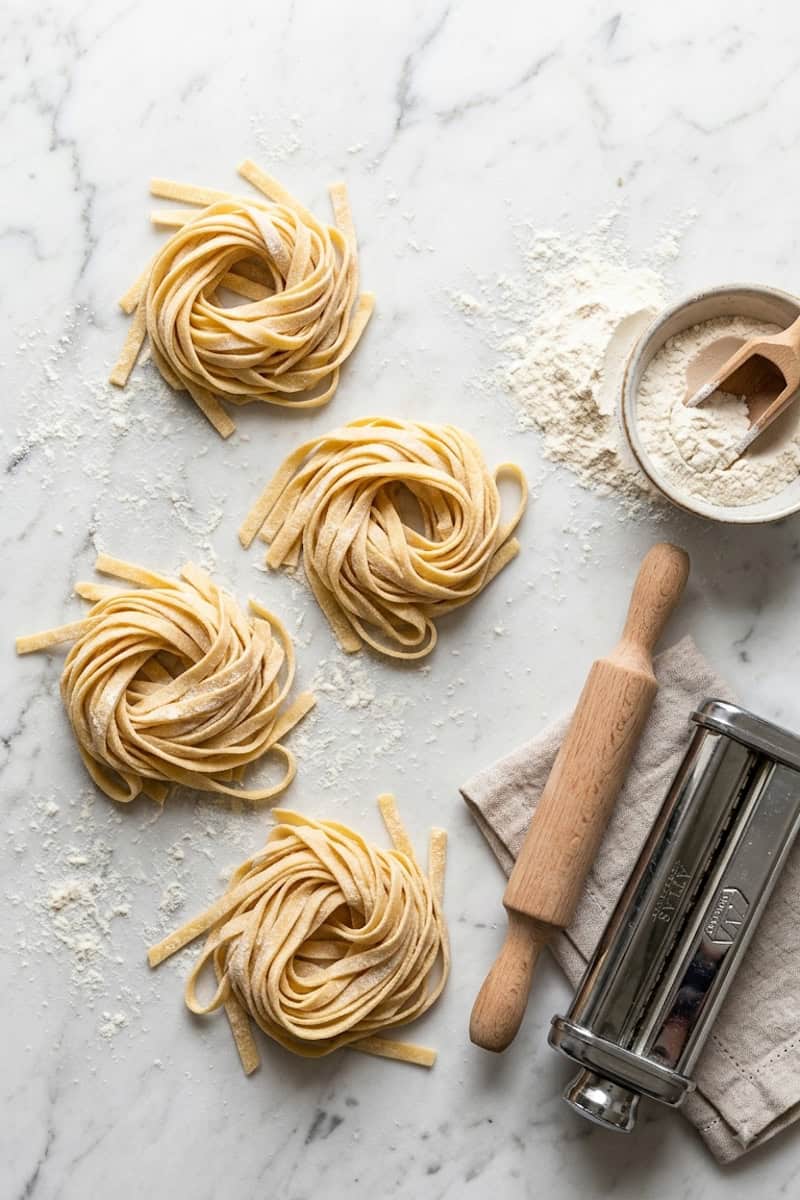
I have made a ton of fresh pasta, including homemade pappardelle, farfalle, ravioli, cavatelli and orecchiette. This is the egg pasta dough I use when I want to bring out my KitchenAid and make fettuccine or spaghetti.
The most important part is getting the texture right. Pasta dough should feel firm and smooth. It should not stick to your hands, but it also should not crumble when you press it. Once you know what the dough is supposed to feel like, the rest is actually really easy.
Why You’ll Love This Recipe
- The mixer does the kneading: The KitchenAid dough hook takes care of the hardest part. Your arms can sit this one out.
- Only four ingredients: You need eggs, flour, olive oil and salt. That’s it.
- Easy to shape: Use the dough for spaghetti, fettuccine, lasagna sheets or homemade ravioli.
- Helpful visual cues: Pasta dough can change depending on your flour, egg size and even the humidity. I’ll show you how to tell if it needs more flour or water.
- It cooks quickly: Fresh pasta only needs a few minutes in boiling water.
KitchenAid Pasta Roller vs. Pasta Extruder
This recipe is written for the KitchenAid pasta roller and cutter attachments. The roller turns the dough into sheets, and the cutter turns those sheets into spaghetti or fettuccine.
The KitchenAid pasta press is an extruder. It pushes dough through a plate to make shapes such as rigatoni, bucatini and fusilli. Extruder dough is usually drier and more crumbly than dough made for a pasta roller.
Readers have reported using this dough successfully in the KitchenAid pasta press, but the texture may need to be adjusted. If you are using the press, follow the instructions for your specific attachment and add any water very carefully. Extruder dough should never be sticky.
Homemade Pasta Dough Recipe Ingredients
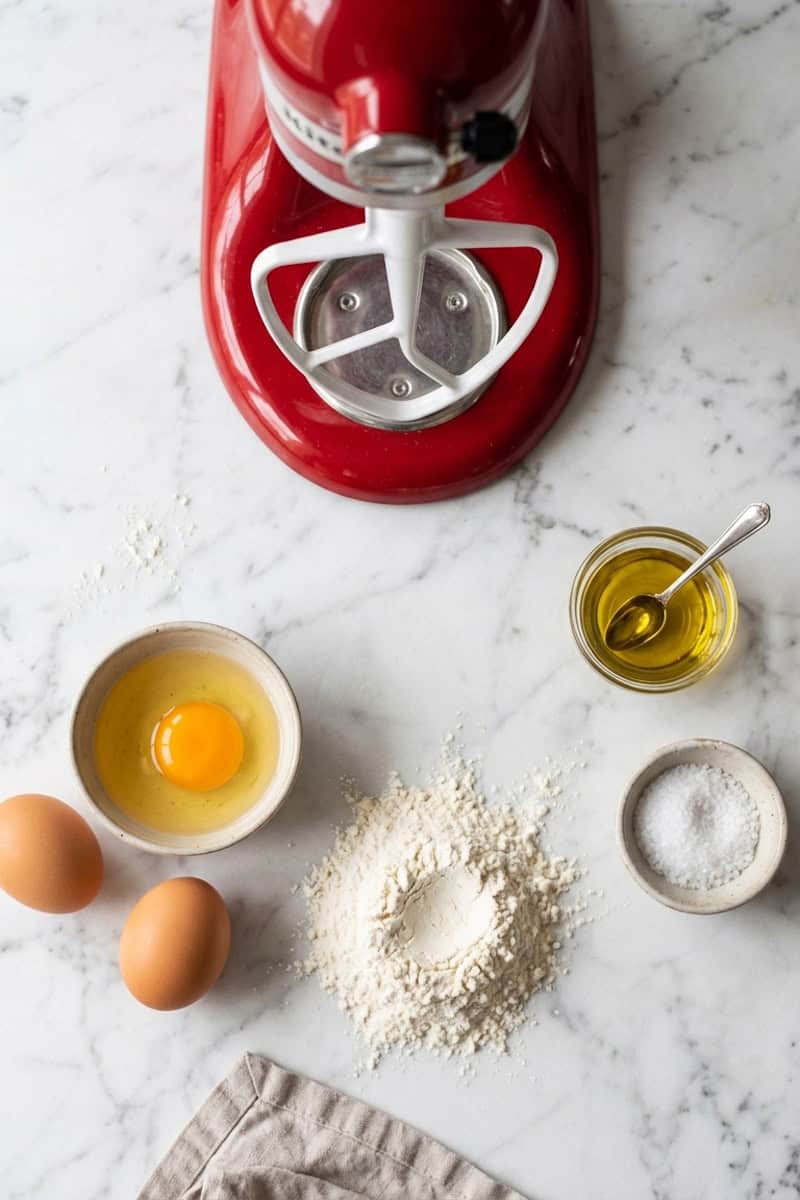
You’ll only need a few simple ingredients to make this recipe. The exact measurements are listed in the recipe card below. Here’s an overview of what you’ll need:
Eggs: Eggs provide the liquid and give the fresh pasta its color and texture. Beat them before adding the remaining ingredients so they mix evenly into the dough.
Flour: Regular all-purpose flour works really well here and is easy to find. Different brands absorb moisture differently, so keep a little extra nearby in case the dough feels sticky.
Olive oil: A teaspoon of olive oil helps the dough come together and makes it easier to work with. You don’t need much.
Kosher salt: Salt seasons the pasta dough from the beginning. Remember that the pasta will also cook in salted water.
See recipe card for quantities.
Equipment
The equipment actually matters for this recipe. You will need:
- KitchenAid stand mixer
- Flat beater
- Dough hook
- KitchenAid pasta sheet roller
- Spaghetti or fettuccine cutter
- Pasta drying rack, sheet pan or clean kitchen towel
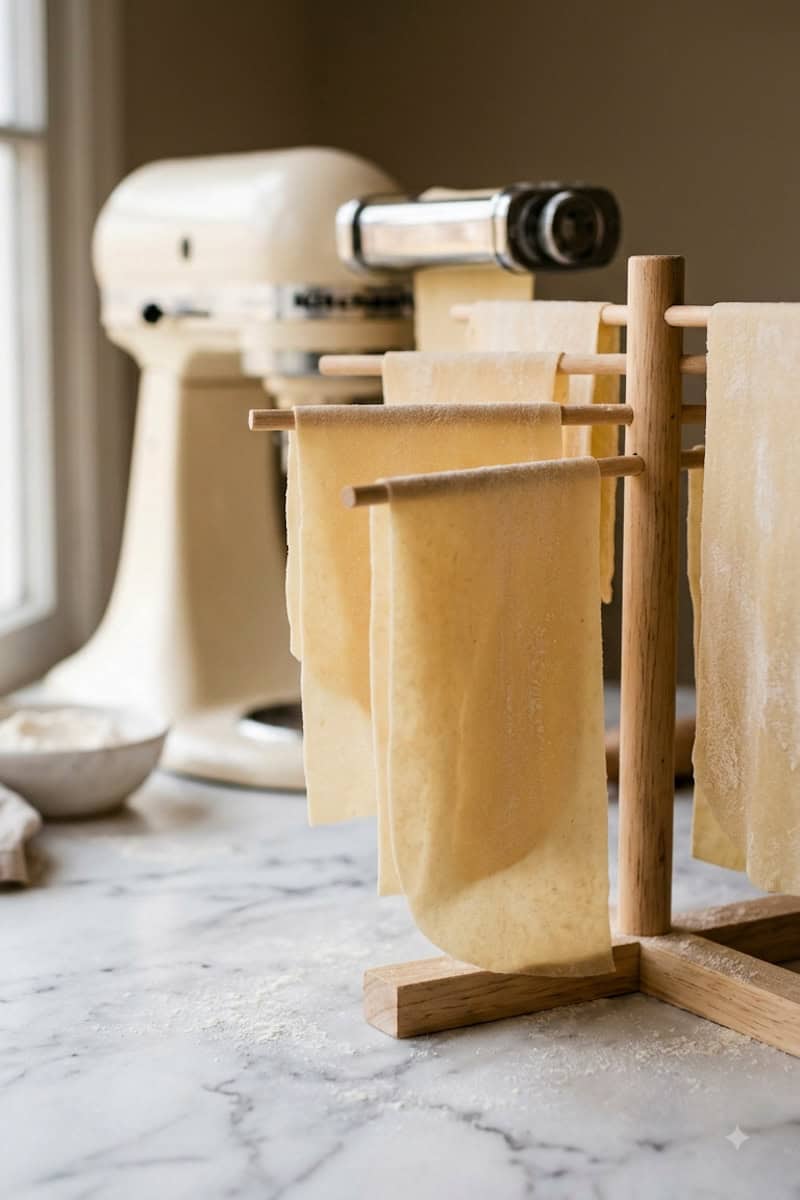
I use the KitchenAid pasta roller and cutter attachment to make the pasta sheets and noodles. A pasta drying rack is also useful if you make fresh pasta regularly, but you can arrange the noodles in lightly floured nests instead.
How to Make Pasta Dough in a KitchenAid Mixer
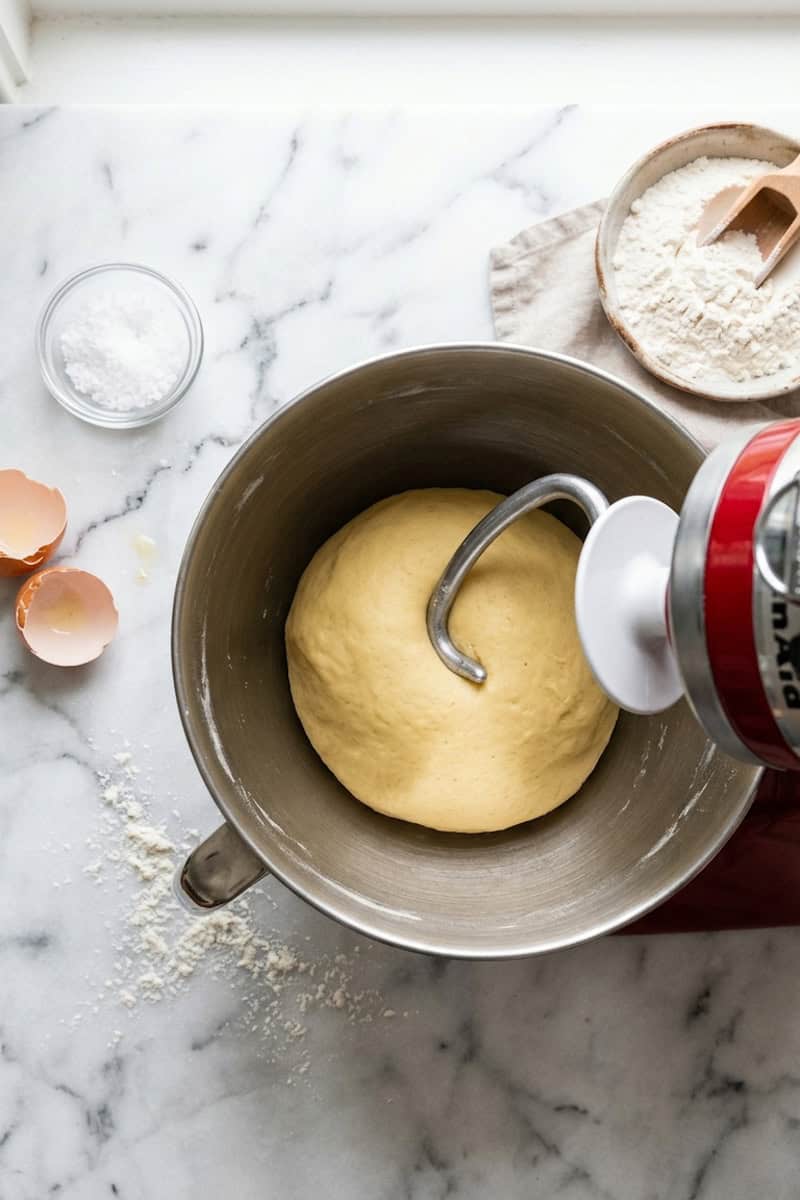
Add the beaten eggs to the bowl of your KitchenAid mixer. Attach the flat beater and mix briefly to break them up completely.
Switch to the dough hook. Add the flour, olive oil and kosher salt.
Knead the dough for 3 to 4 minutes. It should begin to come together and should indent when you press it with your finger.
If the dough sticks to the bowl or your hands, add a small amount of flour. If it stays crumbly and will not hold together when squeezed, add water a teaspoon at a time. Go slowly. It is much easier to add another teaspoon than to rescue pasta dough that suddenly became sticky.
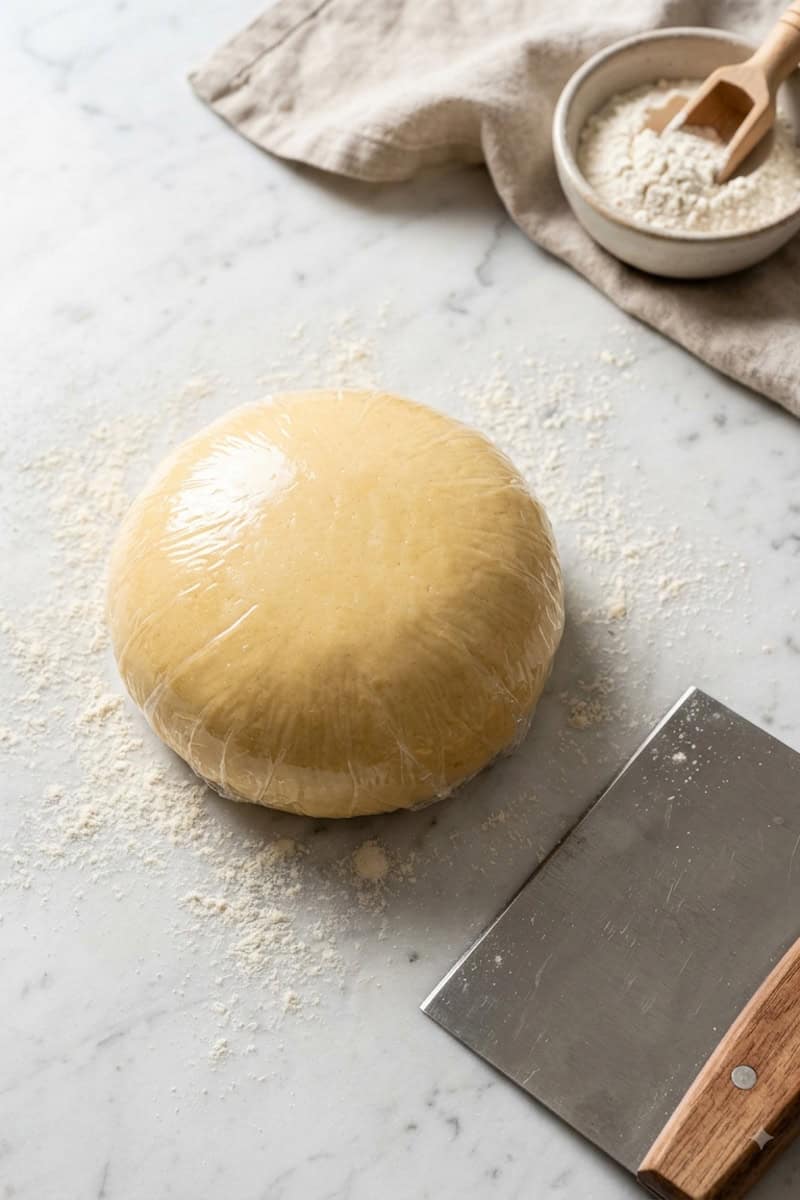
Shape the dough into a ball and place it in an airtight container, or cover it tightly with plastic wrap. Let it rest at room temperature for at least 1 hour.
This rest gives the flour time to hydrate and allows the gluten to relax. The dough will be smoother and much easier to roll afterward.
Attach the pasta roller to the KitchenAid mixer. Take a small portion of dough about the size of a ping-pong ball. Keep the remaining dough covered so it does not dry out. Flatten the portion into a small rectangle on a lightly floured surface. Make sure it is narrow enough to fit through the pasta roller.
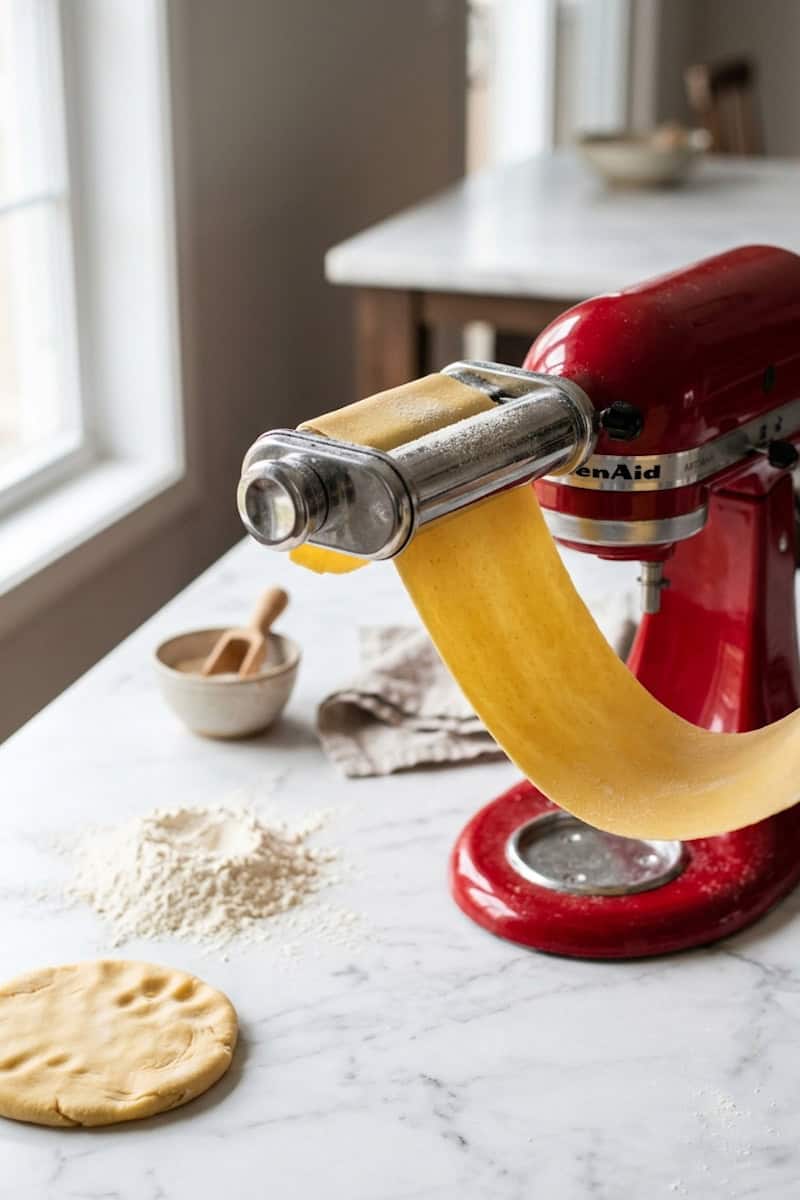
Set the pasta roller to setting 1 and feed the dough through. Fold the sheet in half and pass it through setting 1 again. Repeat if necessary, until the dough looks smooth and holds its rectangular shape.
Move the roller to setting 2 and pass the dough through. Lightly flour both sides if the sheet feels sticky, then pass it through setting 2 once more.
Continue through settings 3 and 4. The sheet should become longer, thinner and smoother with each pass.
Setting 4 works well for fettuccine and spaghetti. If you are making delicate ravioli or another filled pasta, you may want to roll it one setting thinner.
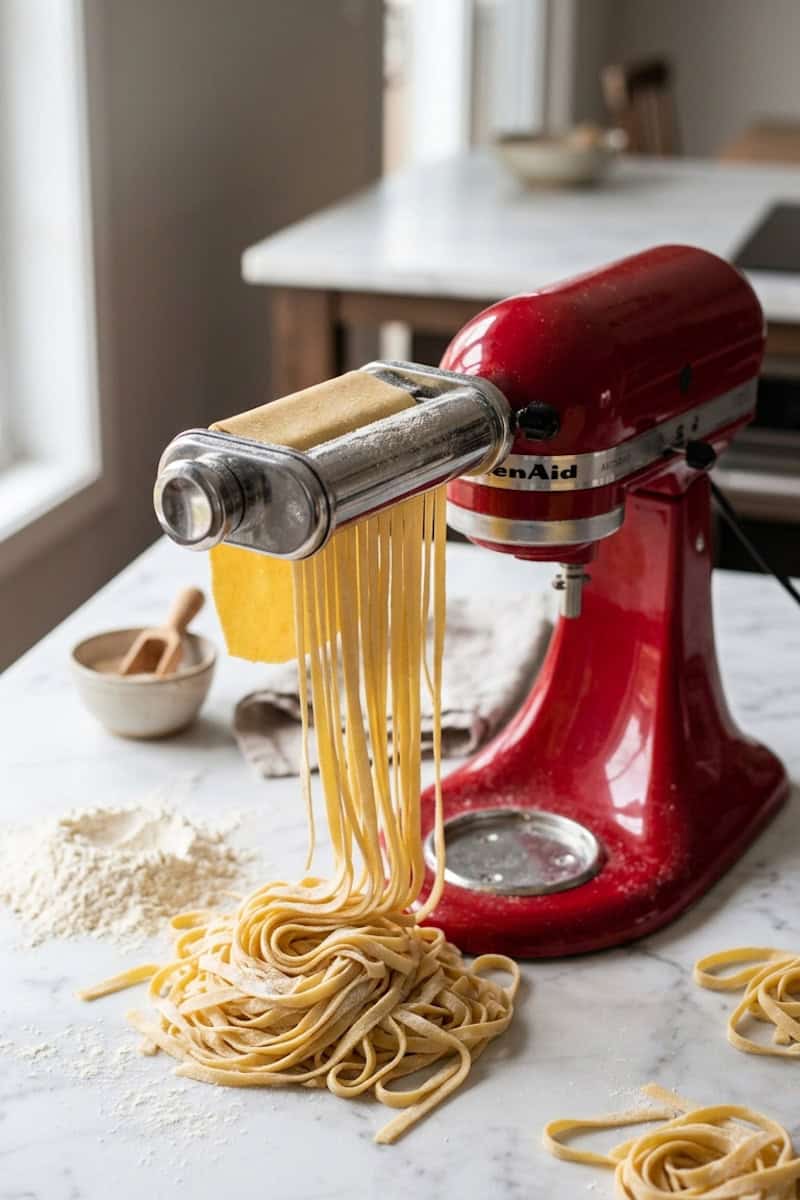
Replace the roller with the spaghetti or fettuccine cutter. Feed each pasta sheet through the cutter, then arrange the noodles in loose, lightly floured nests or hang them on a pasta drying rack.
Repeat with the remaining dough. Keep the unrolled portions covered the entire time. Bring a large pot of generously salted water to a rolling boil. Add the fresh pasta and cook for about 4 to 5 minutes, or until al dente.
The exact time depends on the thickness of the noodles. Start checking early because fresh pasta cooks much faster than dried pasta.
Drain the noodles and toss them directly into your sauce.
Hint:
Top Tip
Use the squeeze test before adding anything to dry-looking dough. Pick up a handful and squeeze it firmly.
If the pieces hold together, keep kneading before adding water. Pasta dough often looks crumbly before it becomes smooth. If it falls apart completely, wet your hands or add water one teaspoon at a time.
If the dough is sticking to your fingers, add flour one tablespoon at a time. You want firm and pliable—not soft like bread dough.
Substitutions
All-purpose flour: All-purpose flour is my first choice for this recipe. You can use Italian “00” flour, but it may absorb the eggs differently, so judge the dough by its texture.
Kosher salt: Fine sea salt works, but use slightly less because its smaller crystals fit more densely into a teaspoon.
Olive oil: You can use another neutral cooking oil, although olive oil is my preference.
Gluten-free flour: I would not replace the flour with a standard cup-for-cup gluten-free blend and expect the same result. Gluten-free pasta needs a recipe specifically developed with binders and its own hydration ratio.
Egg-free pasta: This recipe depends on eggs for its structure and moisture. Use a dedicated semolina-and-water pasta recipe if you need an eggless option.
Fresh Pasta Dough Variations
Make fettuccine: Roll the dough through setting 4, then use the fettuccine cutter.
Make spaghetti: Roll the sheets until thin and smooth, then feed them through the spaghetti cutter.
Make lasagna sheets: Skip the cutter. Trim the rolled sheets to fit your baking dish and use them to assemble lasagna.
Make ravioli: Roll the dough slightly thinner, add your filling and seal it carefully. Try it with my Ravioli Florentine.
Make pappardelle: Roll the dough into sheets and cut it by hand into wide ribbons. My homemade pappardelle shows you how.
What to Serve with Homemade Pasta
The sauce depends on the shape you make, but there are honestly very few wrong answers here.
Wide ribbons are so good with a creamy or meaty sauce. Spaghetti works with a smoother tomato sauce, while pasta sheets can be turned into ravioli or lasagna.
Try your fresh pasta with:
- Pink sauce pasta
- Vodka sauce with sun-dried tomatoes
- Creamy pancetta pasta
- Creamy sausage and broccoli pasta
- Pesto rosso
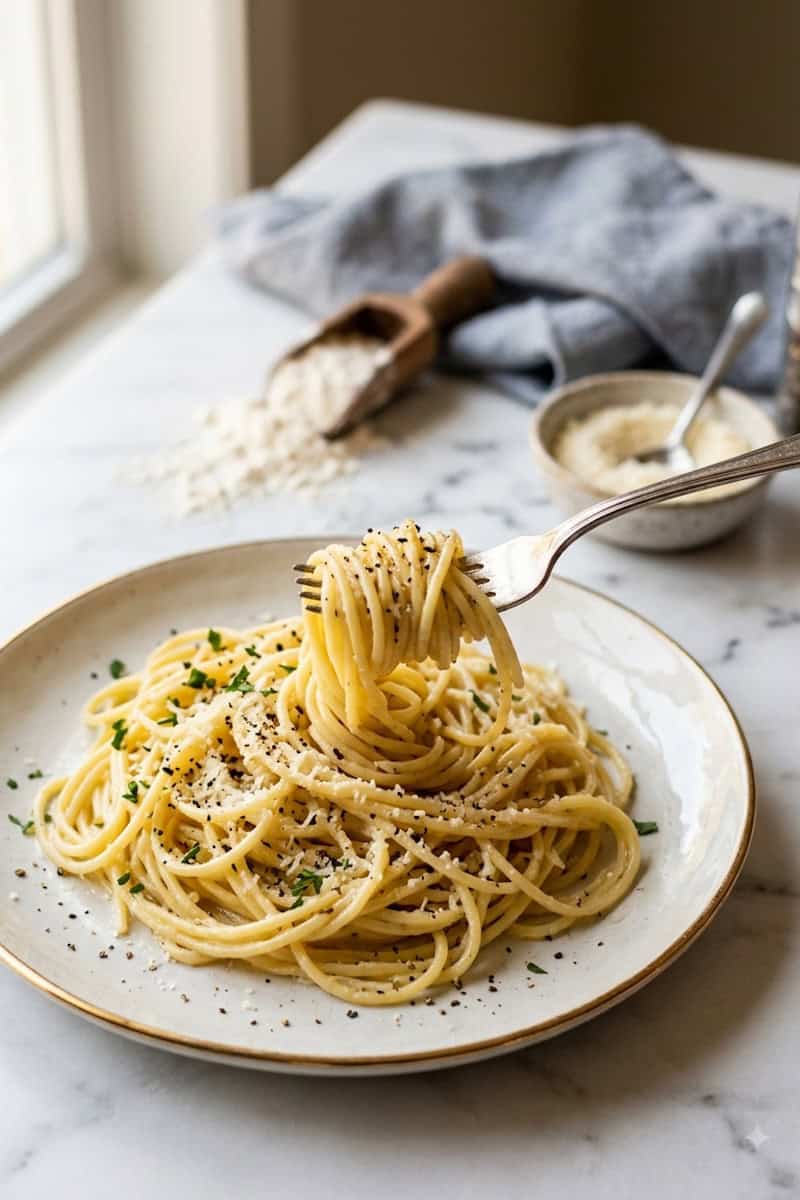
A little butter, freshly grated Parmesan and black pepper also works. Fresh pasta already did most of the work, so the sauce does not need to be complicated.
Make Ahead
You can make the pasta dough one day ahead. Wrap it tightly and refrigerate it, then let it sit at room temperature for about 30 minutes before rolling. Cold dough is firm and can be difficult to feed through the attachment.
You can also roll and cut the noodles a few hours before cooking. Dust them lightly with flour, form loose nests and keep them covered in the refrigerator.
Do not leave fresh egg pasta sitting at room temperature for an extended period.
How to Store Fresh Pasta Dough
Refrigerator: Wrap the unrolled dough tightly so no air can reach it. Refrigerate it for up to 2 days. For the best texture, I prefer using it within 24 hours.
Freezer: Wrap the dough tightly, place it in a freezer-safe bag and freeze it for up to 1 month. Thaw it overnight in the refrigerator, then let it soften slightly at room temperature before rolling.
You can also freeze the cut pasta. Arrange the nests on a sheet pan, freeze until solid and transfer them to a freezer-safe container. Cook the noodles directly from frozen and add a little extra cooking time.
Frequently Asked Questions About KitchenAid Pasta Dough
What speed should I use to knead pasta dough in a KitchenAid?
Use a low speed with the dough hook. Pasta dough is much firmer than bread dough, so there is no need to run the mixer at high speed. Follow the speed guidance for your particular KitchenAid model.
Why is my pasta dough crumbly?
Pasta dough can look crumbly before it is fully kneaded. Squeeze some in your hand first. If it holds together, continue kneading. If it falls apart, add water one teaspoon at a time.
Why is my pasta dough sticky?
The eggs may have been larger, or the flour may have absorbed less moisture. Add flour one tablespoon at a time until the dough feels firm and no longer sticks to your fingers.
What is the best flour for homemade pasta?
All-purpose flour works really well for this KitchenAid pasta dough recipe. It creates a smooth dough and does not require a trip to a specialty market. Italian “00” flour can also be used, although the hydration may need a slight adjustment.
How thin should I roll pasta with the KitchenAid attachment?
Setting 4 works well for spaghetti and fettuccine in this recipe. For ravioli or more delicate sheets, continue to setting 5 or 6. The exact thickness may vary slightly by attachment model.
How long does fresh pasta take to cook?
Fresh pasta generally cooks in about 2 to 5 minutes, depending on its thickness and how long it has dried. This recipe usually takes 4 to 5 minutes. Start tasting it after 2 minutes so it does not overcook.
Can I use this dough in the KitchenAid pasta extruder?
Readers have used it successfully, but extruded pasta generally needs a drier texture than rolled pasta. Follow the directions for your pasta press and be conservative with any added water.


Homemade Pasta Dough Recipe for a KitchenAid Mixer
- Total Time: 1 Hour 35 minutes
- Yield: 4 servings 1x
Description
This homemade pasta dough recipe for a KitchenAid mixer uses four simple ingredients to make fresh spaghetti, fettuccine or pasta sheets.
Ingredients
- 3 large eggs, beaten
- 2 cups all-purpose flour, plus more for handling the dough
- 1 teaspoon olive oil
- 1 teaspoon kosher salt
- Water, only if needed
Instructions
- Add the beaten eggs to the bowl of a KitchenAid stand mixer. Using the flat beater, mix briefly to combine.
- Switch to the dough hook. Add the flour, olive oil and kosher salt. Knead on low speed for 3 to 4 minutes, until the dough comes together and indents when pressed.
- If the dough feels sticky, add flour one tablespoon at a time. If it remains dry and will not hold together when squeezed, add water one teaspoon at a time.
- Shape the dough into a ball and place it in an airtight container or cover it tightly with plastic wrap. Let it rest at room temperature for at least 1 hour.
- Attach the pasta roller to the KitchenAid mixer. Take a portion of dough about the size of a ping-pong ball and keep the remaining dough covered.
- Flatten the portion into a small rectangle on a lightly floured surface. Feed it through the pasta roller on setting 1. Fold it in half and pass it through setting 1 again.
- Feed the dough through setting 2. Lightly flour both sides if needed and pass it through setting 2 once more. Continue through settings 3 and 4.
- Replace the roller with the spaghetti or fettuccine cutter. Feed the pasta sheet through the cutter, then form the noodles into a lightly floured nest or hang them on a pasta drying rack. Repeat with the remaining dough.
- Bring a large pot of salted water to a rolling boil. Add the fresh pasta and cook for 4 to 5 minutes, or until al dente. Start checking the pasta early because thinner noodles may cook faster.
Notes
- Pasta dough should feel firm, smooth and pliable. It should not feel soft or sticky like bread dough.
- Keep unused dough covered while you work so it does not dry out.
- Add flour or water in very small amounts. A little makes a big difference.
- Setting 4 works well for spaghetti and fettuccine. Roll thinner for ravioli if needed.
- Prep Time: 1 Hour 30 minutes
- Cook Time: 5 minutes
- Category: Dinner
- Method: Boiling
- Cuisine: Italian


Isa
Best recipe ever!! My family loved it
Maxine Dubois
Thanks Isa. I am glad you enjoyed it!
Alexia Hernandez
Delicious!! It’s like I’m in Italy all over again!!
Maxine Dubois
Thanks Alexia! I am so glad you enjoyed it.
Donna
I'm going to give this a try - can you freeze the pasta once dried? Or should you skip drying it and just freeze? How long will it last in the freezer? Thanks!
Maxine Dubois
You could freeze the actual pasta dough. For best quality, it is best to make it the day of. Up to you!
Patti Callister
Made last night gor fussy foodies and everyone was impressed..thank you
Maxine Dubois
So happy to hear that! I am so glad you enjoyed it.
Sam
Hi
Do you suggest using the same pasta dough recipe when using the Gourmet Pasta Press attachment (KSMPEXTA) ?
Has anyone use the same dough mix with this attachment?
Thank you.
Maxine Dubois
Yes, I have used the same dough and it works perfectly!
Sam
Hi Maxine
Would this pasta recipe be good to use with the the gourmet pasta press attachment (ksmpexta)?
Maxine Dubois
Yes, this dough works very well.
Pam
What is the best flour to use
Maxine Dubois
You can use all-purpose flour.